Follow these steps to ensure user analytics is correctly installed in your environment.
Step 1 — Obtain your web server URLs.
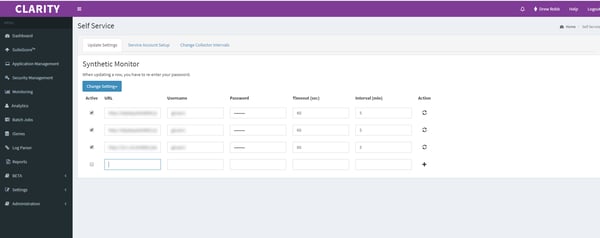
If your Clarity account is set up for Synthetic Monitoring, you will find your web server URLs in Settings. If not, scroll down to see steps for locating the URLs in Server Manager.
From within Clarity:
-
Click Settings in the left sidebar and select Update Settings from the dropdown menu.
-
Click the Change Setting button and select Synthetic Monitor from the dropdown menu.
-
Copy one of the URLs.
From within JD Edwards:
-
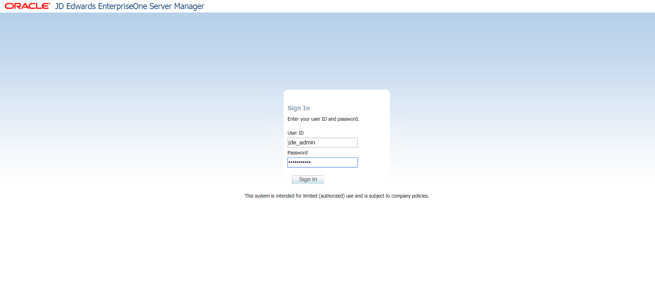
Sign in to Server Manager.
-
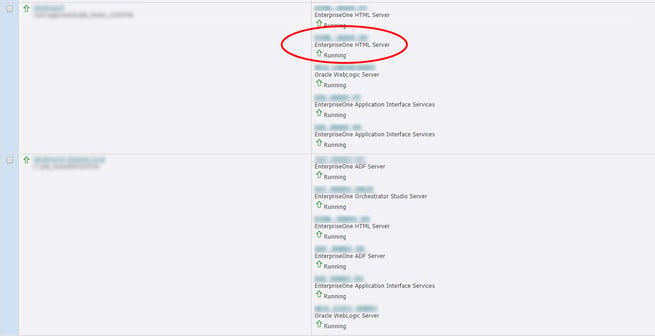
Locate the web instances where user analytics should be installed. Click one of the Enterprise HTML Server links.
-
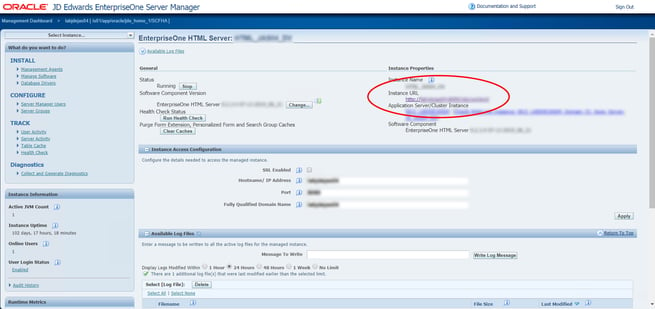
Find the Instance URL and click that link.
Step 2 — Log in to each JD Edwards web server.
Enter your first web server URL, and log in to JD Edwards.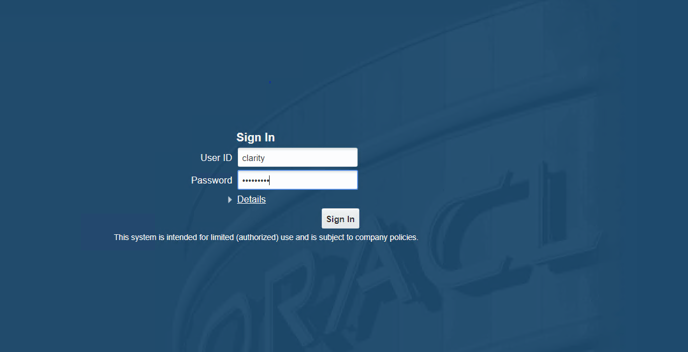
Using Google Chrome:
-
Press Control + Shift + J (Windows) or Command + Option + J (Mac) to open Chrome's Developer Tools and refresh the page.
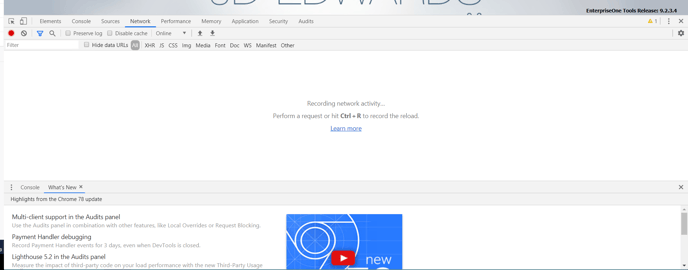
-
Select the Network tab and enter realtime_erpanalysis_"client_id".js in the Filter field.
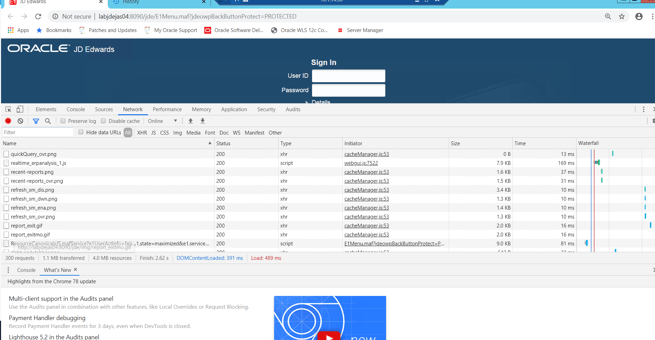
- If the file is found, then user analytics is running on that web server.
Using Internet Explorer/Edge:
-
Press F12 (Windows) or Command + Option + I (Mac) to open IE's Developer Tools and refresh the page.
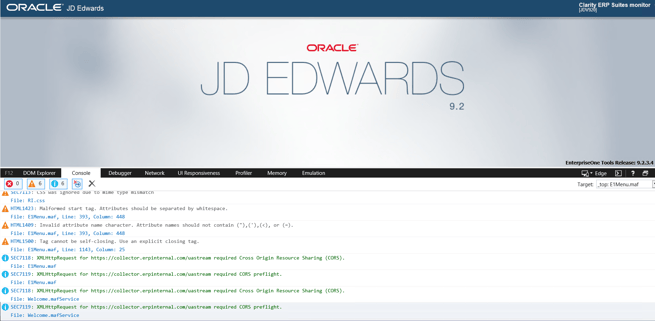
- Select the Network tab and enter realtime_erpanalysis_"client_id".js in the Filter field.
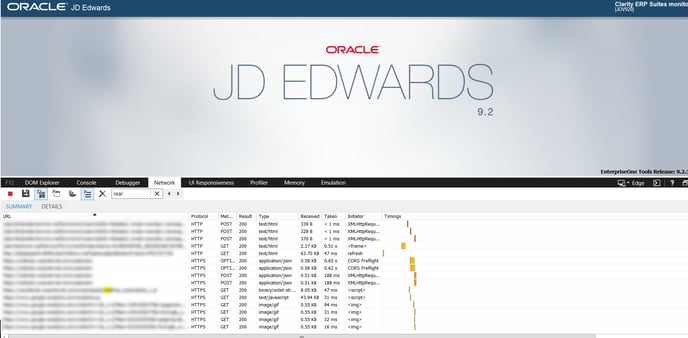
-
If the file is found, then user analytics is running on that web server.
Step 3 — Repeat these steps to check each web server URL.